“Building a Rocketpool Node: The Quest for the perfect hardware”

When it comes to building a Ethereum node, finding the right hardware can be a daunting task. After conducting numerous tests with small form factor hardware like Intel Celerons, I encountered I/O issues when syncing the chain with the first prototype and a SSD connected via USB 3.0
Determined to find a solution and after switching to a Pentium Silver Platform, I spent a lot of time testing different BIOS settings to optimize energy consumption. I also went through 25 versions of the housing for the node to find the best design in terms of cooling, ease of use and assembly.
While the process was not without its challenges, I’m confident that the hardware I have chosen will provide a reliable and efficient node for the Ethereum network.

All in all, the journey to finding the perfect hardware for our Ethereum node has been a long, funny and costly one. So far, I have spent a total of $4000 on testing and experimentation. But, it was worth it and I’m really happy to show you the result!
The Mainboard: Hardkernel Odroid H3+
This is a relatively new board that is manufactured in South Korea. The good thing about it is that you stay on a x86_64 bit platform despite the low power consumption and thus enjoy sophisticated and comprehensive software. The specs are:
- Intel® Quad-Core Processor N6005 with a base clock of 2GHz and a boost clock of 3.3GHz.
- Two SO-DIMM slots (max. 32Gb/slot) with up to 64GB DDR4 RAM (2933MT/s)
- PCIe 3.0 x4 lanes for the M.2 NVMe storage
- 2x 2.5Gbit Ethernet ports
- 2x SATA 3.0 ports
What’s really cool is that you can clock the processor down to 900MHz via the bios, or even override the default clock frequency so that the processor always clocks at a maximum of 3.3GHz…. if it has to go faster with the synchronization. 🙂
| Task | Energy consumption* (no Bios/CPU optimizations done) |
| Syncing Geth + Lighthouse | 15W – 20W |
| Fully synced, on duty | 12W – 15W |
Another interesting feature is that you can install an eMMC module on the board and thus physically separate the operating system from the data partition. And if you want to be absolutely sure, you can make a complete backup of the chain on a hard disk via the SATA or USB 3.0 ports. By the way, this function is included in the Rocketpool software by default!
One more note regarding the network connections. Since you have two available, you can theoretically use one interface as a DMZ network for the outside connections and the other one for administration purposes.
To ensure a smooth operation you should install the latest bios update for the board!
My nodes are running with the latest Debian 11.
The Enclosure: 3d printed with M3 nuts included in the print!
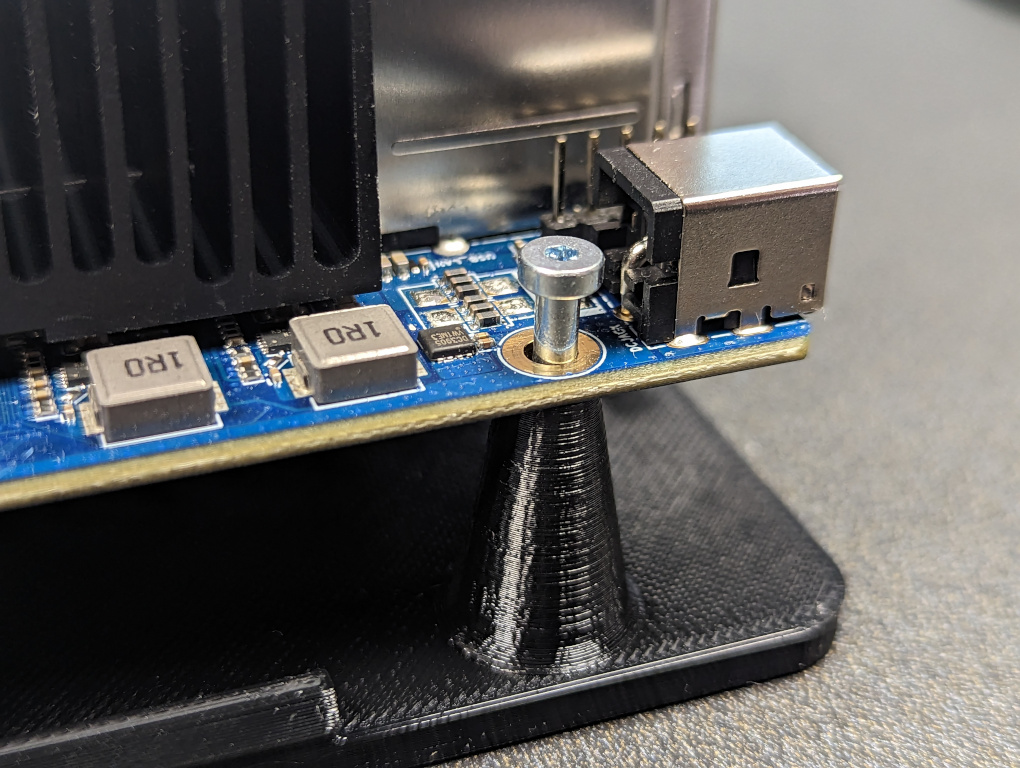
UPDATE: There is now a passive cooled case available for the Node: https://homenode.org/?p=97
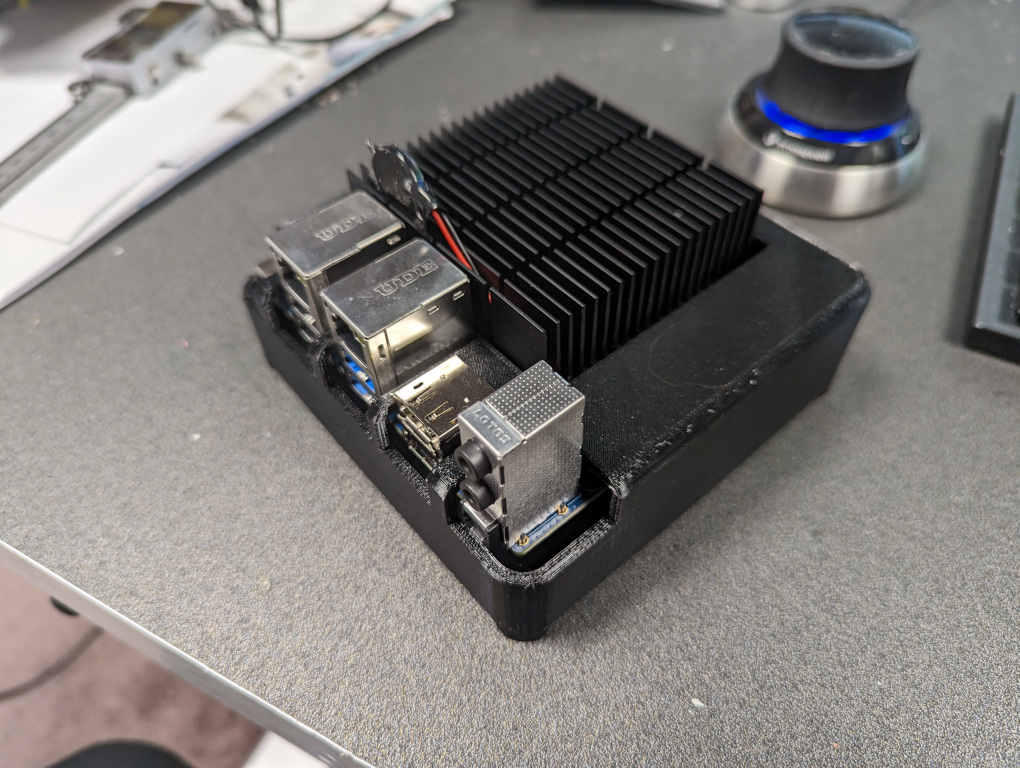
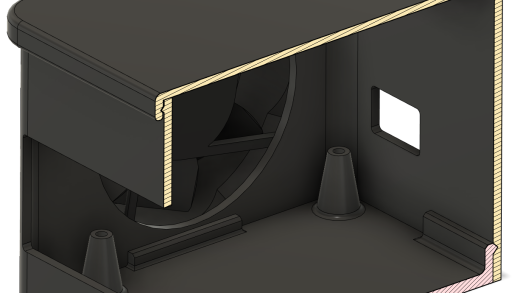
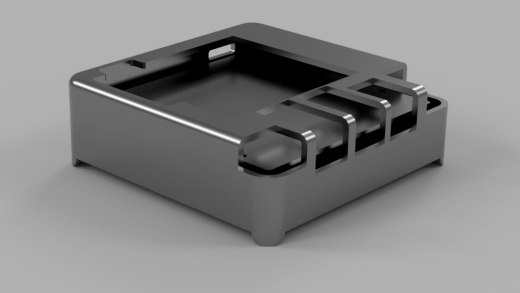
One of the main focuses of my enclosure design is easy assembly. To ensure that the assembly process is as simple as possible, I have designed the enclosure to be made up of only a few pieces that can be easily snapped together. This eliminates the need for any complicated tools or hardware, making it a quick and easy process for anyone to assemble.
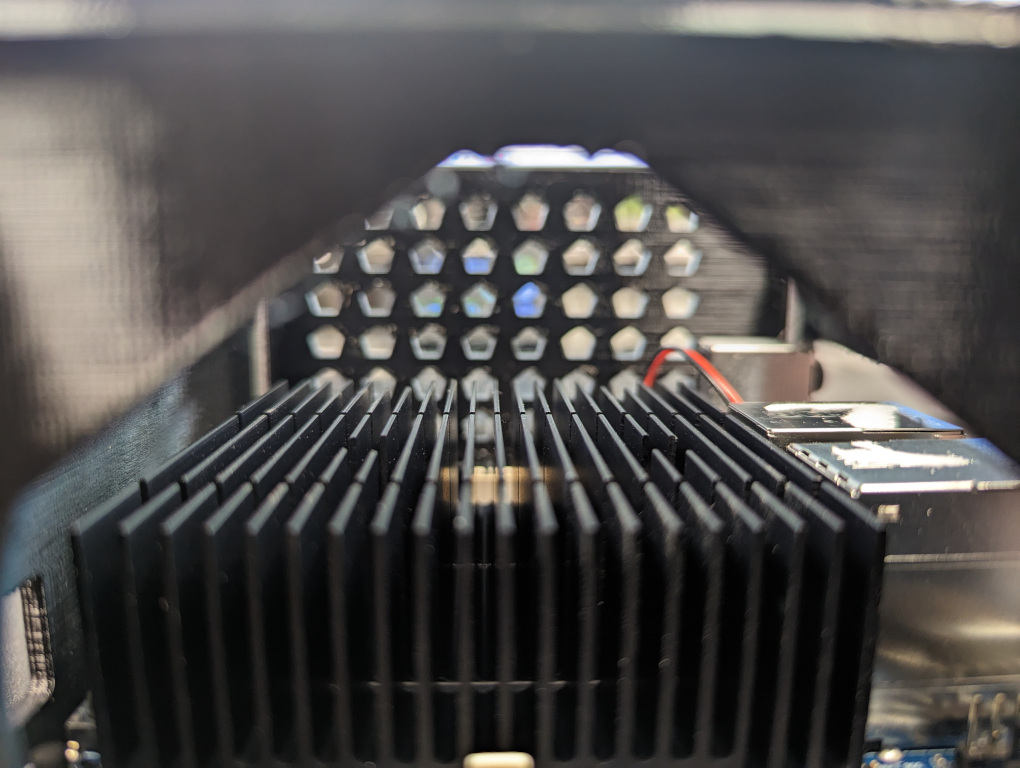
Another important focus of my enclosure design is temperature control. Keeping the Node cool is essential for maintaining the longevity of the hardware and ensuring that it runs smoothly. To achieve this, I have designed the enclosure to allow for the easy installation of an 80mm fan. This fan can be mounted on the side of the enclosure and will efficiently dissipate the heat generated by the Node. No screws needed, just “snap” the fan in.
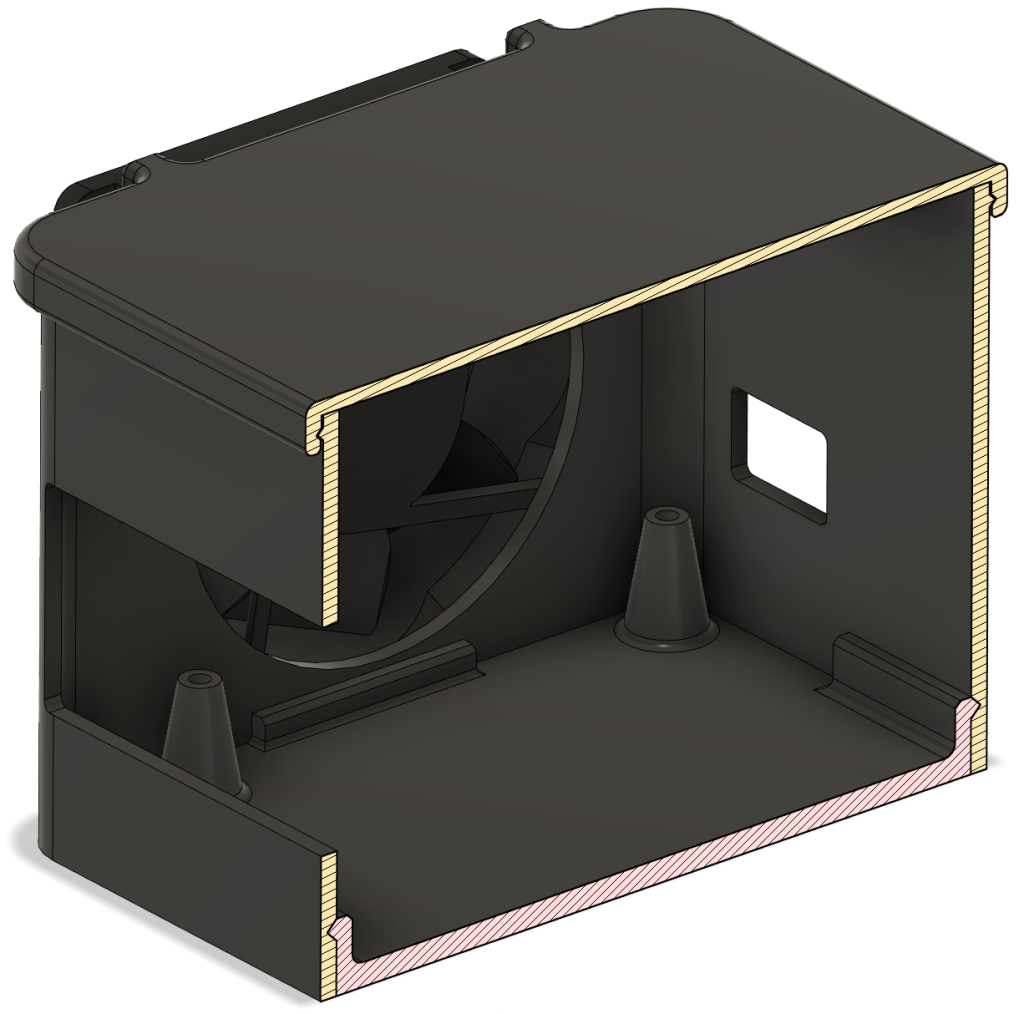
Finally, I have designed the enclosure to be 3D printable, making it easily accessible to anyone who wants to use it. This allows you to customize the enclosure to your specific needs and preferences. When you print the case yourself, remember to pause at the right height to insert the nuts!
I highly recommend printing the Case in PETG!
Sourcing
Since I am based in Europe, I have used appropriate sources there as well. Enclosed you will find a list of hardware that worked well for me. I tried three different SSDs in my tests, all of which worked flawlessly. Another model from Kingston is still in the testing phase.
The links in the table marked with a * are affiliate links and support my work. Of course you don’t have to click on them and you can search for the parts normally on the web.
| Part | Link | Price |
| ODROID-H3+ | https://www.hardkernel.com/shop/odroid-h3-plus/ | $165 |
| Mushkin 2TB SSD Tempest* | https://amzn.to/3XNrSsE | 150€ |
| Mushkin 2TB SSD Element* | https://amzn.to/3XKCqbJ | 115€ |
| Samsung 970 Evo Pro* | https://amzn.to/3wk48QY | 250€ |
| G.Skill 32GB RAM* | https://amzn.to/3XQLc8p | 90€ |
| Power Supply* | https://amzn.to/3Hn5wJ8 | 28€ |
| 80mm pwm fan | https://amzn.to/3XwSuOF | 8€ |
| Enclosure files | https://homenode.org/wp-content/uploads/2023/01/enclosure.zip | free 🙂 |
What is still missing are M3 screws (I used DIN 7984, because they fit very well to the mainboard with the flat head) in 25mm length and the corresponding nuts. You can find these things in every hardware store or on eBay.
Conclusion and outlook!
So my first version is finished and it was really a lot of fun to work on this project. During this time I was lucky enough to get to know the incredibly great Rocketpool community on Twitter. Thanks a lot for supporting me with your “likes”! I hope I can inspire and support you with this blog to run your own node soon.
Special thanks to Rocket Pool Intern, Jasperthefriendlyghost (he built also a cool ARM based node!!) and superphiz for inspiring me <3
This is the end of my work on “Cosmic Core” and the beginning of “DIGITAL DYNAMO“! 😀

Thank you for you works !